

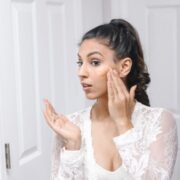


Does the makeup world mesmerize you and make you queasy all at the same time?
Finding the right shades of products, learning the right order to apply them, or even determining what products you should be using can be very overwhelming.
I get it, I really do.
While I understand and use makeup regularly, there is just so much out there when it comes to product selection that I realize it can be overwhelming for newbies, in fact – it’s overwhelming for me at times!
New products are always coming out and there is a new viral technique that everyone is talking about but before we go there let’s get the basics down.
- How to apply makeup? A step-by-step guide.
- How do I prepare my skin before makeup?
- What is the correct order to put on makeup?
- Eye makeup step by step
- How do you apply primer, foundation, and concealer?
- Applying lip products
- Final Thoughts on Makeup Steps
- Shop the Post
How to apply makeup? A step-by-step guide.
There is a lot to makeup – but the key is that you don’t have to do everything. Makeup should enhance your natural features or be really fun and used to express yourself. Either way, it’s not that scary.
Let’s break this down into tiny doable steps.
Start with an idea of what you want the end looks to be. Are you looking to do a full glam look, a natural minimal look, or perhaps a classic red lip paired with simple eyeliner (this is one that will never go out of style)?
Having a look in mind helps with a lot of decision-making. You can decide on the right products to buy and apply them precisely to get the look you want.
How do I prepare my skin before makeup?
Skincare is key. If your skin is not clean and properly moisturized the makeup will not adhere properly or go on smoothly.
So, start by cleansing and moisturizing your skin. Give the moisturizer a few minutes to settle into your skin before getting started with makeup. – if you are confused about skincare read this post.
Related: Still wondering how your skincare routine is right? Read this.
What is the correct order to put on makeup?
There is a debate surrounding this, but many experts agree on the following order:
Eyes, Base, Lips, Seal
This means that you should apply eye makeup, followed by foundation, concealer, and the rest of your face makeup. Lastly, you want to apply your lip products like lip liner and lipstick at the very end.
Well almost at the end, before you “set” your final look with setting spray or powder.
Eye makeup step by step
Think of your face like a canvas and makeup like paint. If this is going to be your *Picasso* moment, you need the building blocks of the work to be set in place.
This means filling in your brows. Brow pencils are most commonly used to create shapes and define your brows.
Gently draw small short strokes that mimic your brow hairs and brush them out with a spoolie to blend.
My favorite brow product is On The Go Beauty by True by Noureen. I love supporting small businesses and Noureen has been my brow artist for over 3 years. She launched her brand True by Noureen, and the brow products are seriously the best – and very affordable.
If you’re looking for a quick and accessible find, another go-to brow pencil is the Micro Brow Pencil by NYX in the shade Espresso.
How to apply eyeshadow?
Before we get to eyeshadow we need to prime those lids. Using a primer like the Too Faced Shadow Insurance will help prevent creasing and keep your eye makeup looking good for longer.
Apply a little eyeshadow primer to your lids and dab it in with your ring finger.
Now it is time to apply eyeshadow. If you are a true novice, pick out three colors in the same color family to begin with: one light, one dark, and another somewhere in the middle.
The basics are to apply the medium shade all over your lid. Think of this as a base color.
Then apply the darkest shade to your crease and outer corners. It will add depth to your eyes. Be sure to blend out this color well, you don’t want any harsh lines.
If you have hooded lids however you’d have to apply your crease color a little higher than your natural crease just so that it is more visible. So, with your eyes open determine where you are going to apply the color beforehand.
Top it all off with some of the light or shimmery eyeshadow in your inner corner and underneath your brow bone.
The one palette that I recommend everyone to have is the Urban Decay Naked Reloaded palette. The stunning neutral shades will work for any occasion. This palette also works well with a variety of different colors.
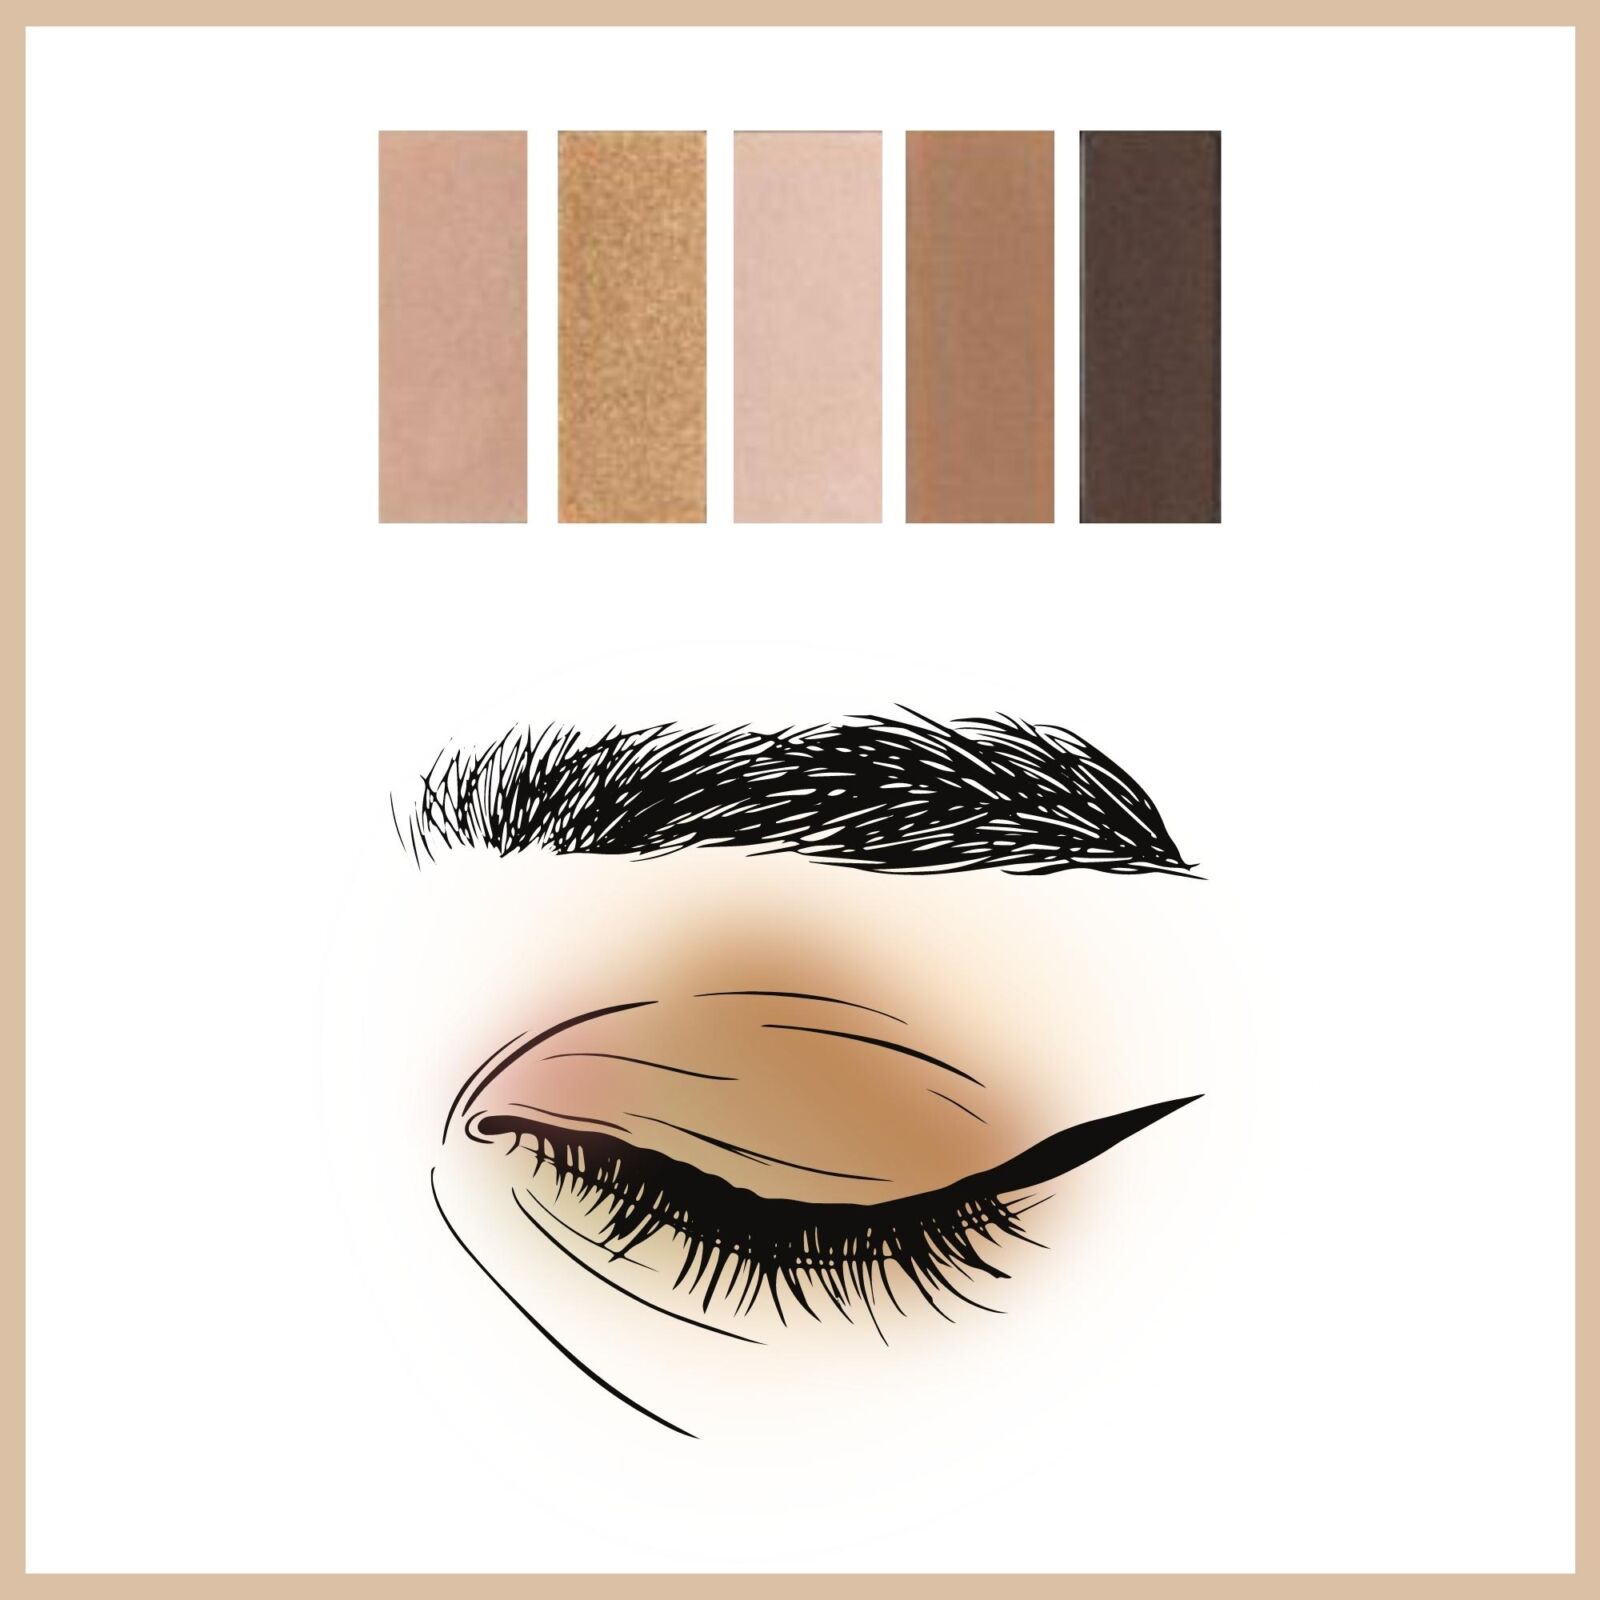
With this particular palette my favorite light medium and dark shades are the: “blur” and “barely baked” for my medium (base of the lid), “bribe” for the light (inner corner + brow bone), and “bucked” or “endgame” for the dark (crease).
How to apply eyeliner?
Now let’s move on to eyeliner. Pencil, gel, or liquid, take your pick. I personally go back and forth, they all work well for different purposes.
The key is to apply eyeliner as close to your eyelids as possible. Draw small strokes to avoid any errors.
You can keep it thin or thicken your liner as you like. My favorite liquid liners are the IT Cosmetics Superhero eyeliner and the Maybelline Liquid Eyeliner.
Pro-tip: Get yourself a brown eyeliner. It is great for adding definition without being too much, especially on the waterline. The one I’m currently using is a Colorstay Micro Hyper Precision gel eyeliner from Revlon.
How to apply mascara?
Lastly, you finish off your eye makeup look with mascara. Curling your lashes first will make all the difference, if you have been hesitant because of how strange the lash curling contraption looks, trust me it will be worth it.
Next, you should apply a mascara primer. This will make such a difference to your look especially if you have short lashes.
I like using L’Oréal’s Voluminous Lash Paradise Primer to add a little drama to my eyes.
Finally swipe on mascara to your curled (and primed) lashes. Wiggle the wand a little at the base to deposit the product and create a voluminous look before swiping it up.
You should try the Lash Princess by Essence for beautiful, full, voluminous lashes. Plus it’s scary cheap.
Related: Why You Need To Be Using A Mascara Primer
How do you apply primer, foundation, and concealer?
The most underrated part of makeup is your skin. There may be no drama or fun involved here but you need to get the skin looking good, it is crucial.
Here are the steps to get your complexion to look perfect.
Apply a primer for long-lasting makeup
Applying a face primer is absolutely vital. There are many different kinds of primers that you can use, ones that are designed to control oil, minimize pores, or hydrate your skin.
Choose one that works best for you and your needs. I personally love the Rare Beauty Always An Optimist Illuminating Primer and the Marshmello Smoothing Primer by NYX.
The first step of your face routine should have moisturizer and SPF on already from your skincare routine. In case you missed it, here’s the order which you should be applying your skincare.
Related: An Expert Shares What Our Skincare Routine Order Should Be
How to use a color corrector?
Next, you want to color correct if you need to do so. Choose a color that works for your skin tone in the peach, orange or red categories to help hide the blue under your eyes or the hyperpigmentation around your mouth.
The color correctors that work for my skin tone are Rise by Livetinted and the Orange Corrector by LA Girl.
Livetinted carries a number of color correctors in the form of their Huesticks. This woman of color-owned business has options for everyone plus these Huesticks do double duty as lip color or blush.
If you have severe redness in your skin a green color corrector might do the trick.
Blend the color corrector- you don’t want patches of random colors on your face. Instead the corrector should neutralize any discoloration and blend into the skin. Don’t try to mimic your fav on Youtube. They are skilled artists, but most of them overdo their color corrector and then pile on the foundation. Between the lights and the camera, you can’t see it but in person, it is not a cute look.
If you struggle to blend your color corrector, don’t be afraid to use your fingers. The warmth will really help the product melt and blend into the skin.
Related: Here are some makeup application secrets from the pros for you to amp up your makeup game!
How to apply foundation the right way
Once you have the color corrected, now you are ready for foundation. Starting with a small amount of foundation you can always add more. Spread it around your skin evenly and blend.
You can use a brush or sponge or even your fingers to blend out your foundation. Each tool has its own merits, brushes offer you more control and the ability to concentrate the product in one area, sponges offer a flawless finish (hence the current obsession with the Beauty Blender and the Real Technique sponge – my favorite BB dupe!) and fingers offer warmth to melt and blend the product like no other.
If you opt to use your fingers be sure to wash your hands very thoroughly before and after.
When choosing a foundation, there are a few things you need to keep in mind. In addition to getting the right shade, you need to make sure you are getting a product that is designed to give you the look that you are looking for.
The finish that you want. Matte, slight sheen or glowy?
The coverage that you need? Full, medium, or minimal?
Once you decide on these factors you can now get the product that is right for you. This could either be a foundation or a tinted moisturizer.
Foundations generally come in different formulas offering different coverage levels. Tinted moisturizers often provide lighter coverage and are more suited for day-to-day use.
Related: The Ultimate Guide to the Best Foundations
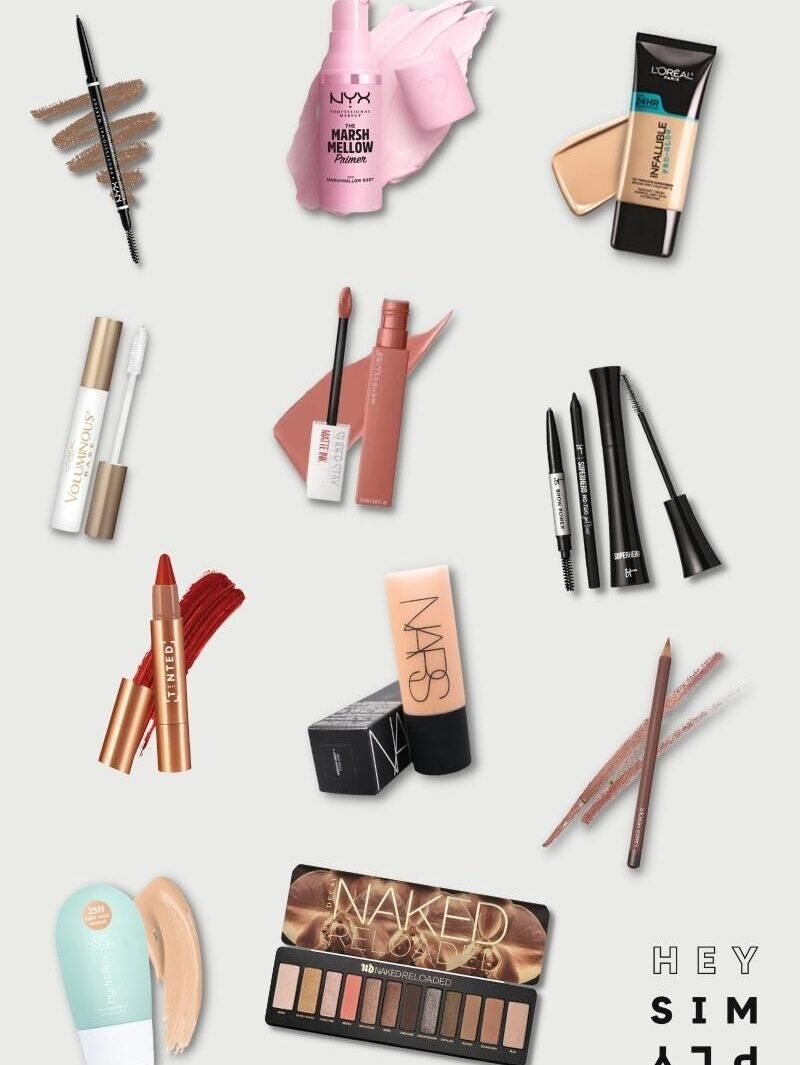
Here are some of my favorite foundations and tinted moisturizers:
For full coverage: NARS Soft Matte Complete Foundation
Full coverage drugstore: L’Oreal Infallible Pro
Medium/ Light Coverage: Urban Decay Stay Naked Weightless Liquid Foundation in 50 NN
Tinted Moisturizer: Tarte SEA HydroFlex Serum Foundation in 32N
Tinted Moisturizer Drugstore: essence My Skin Perfector Tinted Primer in 30 Medium Beige
Related: My Honest Review of the Most Popular Tinted Moisturizers
Once you have blended out the foundation you are ready to apply concealer. Now that you have coverage over most of your skin you are able to see where you need more.
Plus, you can use a slightly lighter concealer under your eyes for a brightening effect.
The Tarte Shape Tape concealer in Medium works great for me or the Covergirl Trublend Concealer in M 900 Perfect Beige.
Face makeup step by step
Now that you have applied foundation and concealer and you have a base to work with, you need to decide what your next steps are. If you are going to be using liquid or cream cheek products you need to get right to it.
However, if you are using powder products for your face makeup you need to set the foundation and concealer with a powder.
If you choose to use a contour product, try the Fenty Beauty contour stick.
Next, you want to add blush. Stack it right above your contour and blend. You want to make sure that there are no harsh lines dividing your contour and blush but they should be distinct from one another.
The right blush can make you glow and look youthful. Some of my go-to blushes are Melba from Mac for a powder or the Tower28 cream blush.
Now you want to highlight your face, add a little shine to the high points of your face. Your cheekbones, your brow bone, and your cupid’s bow.
The Rodeo Drive Highlighter by Ofra Cosmetics and L’Oreal Trumatch Lumi Glow Illuminator in N 201 are my absolute favorites.
Sealing your makeup look in place
Now that you have the makeup on your face you need to take some measures to keep it there. You want to protect your makeup from external factors and to convince the look to stay in place even if you sweat or tear up.
The most important step is to use powder. My absolute holy grail is the Laura Mercier powder in honey.
Next, you add another layer of sealant with a setting spray. My favorites are the MAC Fix + or the Urban Decay All Nighter Setting Spray.
Related: Everything You’ve Ever Wanted To Know About Makeup Baking
Applying lip products
Once you have chosen formula and color the application is the next step. Out of convenience, we would probably choose to apply it right out of the tube.
Yes, that works but honestly taking a moment to line your lips and then using a brush to apply your lipstick can give you a much sleeker look and reduce the room for errors.
Lining your lips creates a much sharper line and highlights your lip. My favorite lip liner is Hazelnut Tea by Laura Mercier. It’s a universal soft pink and goes well with brown-toned skin.
One of my favorite combos is Beeper by Colourpop with the Hazelnut Tea lip liner for an everyday look.
I really like liquid lipsticks but if you find them drying, always apply chapstick or vaseline before you start your makeup routine and before bed. IT Cosmetics Je Nais Se Quois Lip Balm – expensive but so good. As far as staying power goes, the Maybelline Stay Matte Lipsticks because they feel so comfortable and last forever.
Related: 9 Iconic Red Lipsticks That Are Brown Girl Approved
Final Thoughts on Makeup Steps
I know you just read this entire post because you want answers and a guide. If all of this was too intimidating don’t worry about it.
Just because I have listed these steps doesn’t mean you have to do all of them all the time. Makeup should be fun for you. If you are overwhelmed trying to do it “right” what’s the point?
Enhance your features. Maybe even pick a favorite feature for the day and enhance it. You really like your cheekbones, great, use blush and highlight to show them off.
You absolutely do not need to do all of these steps! Pick and choose what works for you!
Shop the Post